使用filebeat采集Nginx日志到ES
filebeat是传统elk组件中logstach的升级替代,能够高性能的采集一些中间件的日志到es中,供检索分析。
1.安装filebeat
首先要安装filebeat到nginx所在服务器,因为我的服务器是rocky linux属于redhat系,故这里通过yum安装,先设置安装源
导入GPG-KEY
rpm --import https://artifacts.elastic.co/GPG-KEY-elasticsearch新建一个elastic.repo文件在/etc/yum.repos.d下,并粘贴安装源地址
vim /etc/yum.repos.d/elastic.repo
[elastic-9.x]name=Elastic repository for 9.x packagesbaseurl=https://artifacts.elastic.co/packages/9.x/yumgpgcheck=1gpgkey=https://artifacts.elastic.co/GPG-KEY-elasticsearchenabled=1autorefresh=1type=rpm-md接下来执行安装,直到安装完成
yum install filebeat -y2.设置nginx和filebeat
首先确认nginx的日志路径和日志格式,一般日志路径默认就是:
/var/log/nginx/access.log常规访问日志/var/log/nginx/error.log错误日志
在nginx.conf配置文件中,默认的日志格式是:
log_format main ' $remote_addr - $remote_user [$time_local] "$request" ' '$status $body_bytes_sent "$http_referer" ' '"$http_user_agent" "$http_x_forwarded_for"';为了区分各个主机的访问记录,我选择增加一个主机的字段:$host
log_format main '$host $remote_addr - $remote_user [$time_local] "$request" ' '$status $body_bytes_sent "$http_referer" ' '"$http_user_agent" "$http_x_forwarded_for"';亲测filebeat可以识别上述的日志格式,自动提取有效信息
然后设置filebeat,通过yum安装的filebeat,默认全局配置文件位于/etc/filebeat/filebeat.yml,有这样几项需要修改
output.elasticsearch: # 改成自己es地址和端口 hosts: ["localhost:9016"] # 改成自己的索引格式 index: "nginx-logs-%{+yyyy.MM.dd}" # 通信协议按需要修改 protocol: "http" # es用户名密码,必须设置 username: "elastic" password: "***************"# 需要新增这两项,索引数据格式模板名称setup.template.name: "tx-custom-logs"setup.template.pattern: "tx-custom-logs-*"然后对nginx的采集功能进行设置,filebeat支持很多中间件的日志采集,通过yum安装的filebeat,默认的各中间件的采集配置文件位于:/etc/filebeat/modules.d/
首先要将默认的nginx配置文件nginx.yml.disabled复制出一份nginx.yml,因为最后filebeat只会自动导入读取.yml结尾的文件
cp /etc/filebeat/modules.d/nginx.yml.disabled /etc/filebeat/modules.d/nginx.ymlvim编辑/etc/filebeat/modules.d/nginx.yml配置文件,针对nginx的采集进行配置
- module: nginx # 打开常规访问日志采集,指定日志路径 access: enabled: true var.paths: ["/var/log/nginx/access.log"] var.timezone: "Asia/Shanghai" # 打开错误日志采集,指定日志路径 error: enabled: true var.paths: ["/var/log/nginx/error.log"] var.timezone: "Asia/Shanghai"都修改完成后,通过filebeat test config命令,验证配置文件是否有语法错误
[root@VM-0-3-rockylinux ~]# filebeat test configConfig OK然后启动filebeat,并且能看到进程,启动成功
[root@VM-0-3-rockylinux ~]# systemctl start filebeat[root@VM-0-3-rockylinux ~]# ps -ef | grep filebeatroot 279214 1 0 Apr17 ? 00:00:09 /usr/share/filebeat/bin/filebeat --environment systemd -c /etc/filebeat/filebeat.yml --path.home /usr/share/filebeat --path.config /etc/filebeat --path.data /var/lib/filebeat --path.logs /var/log/filebeatroot 484905 454652 0 14:33 pts/2 00:00:00 grep --color=auto filebeat3.查看索引
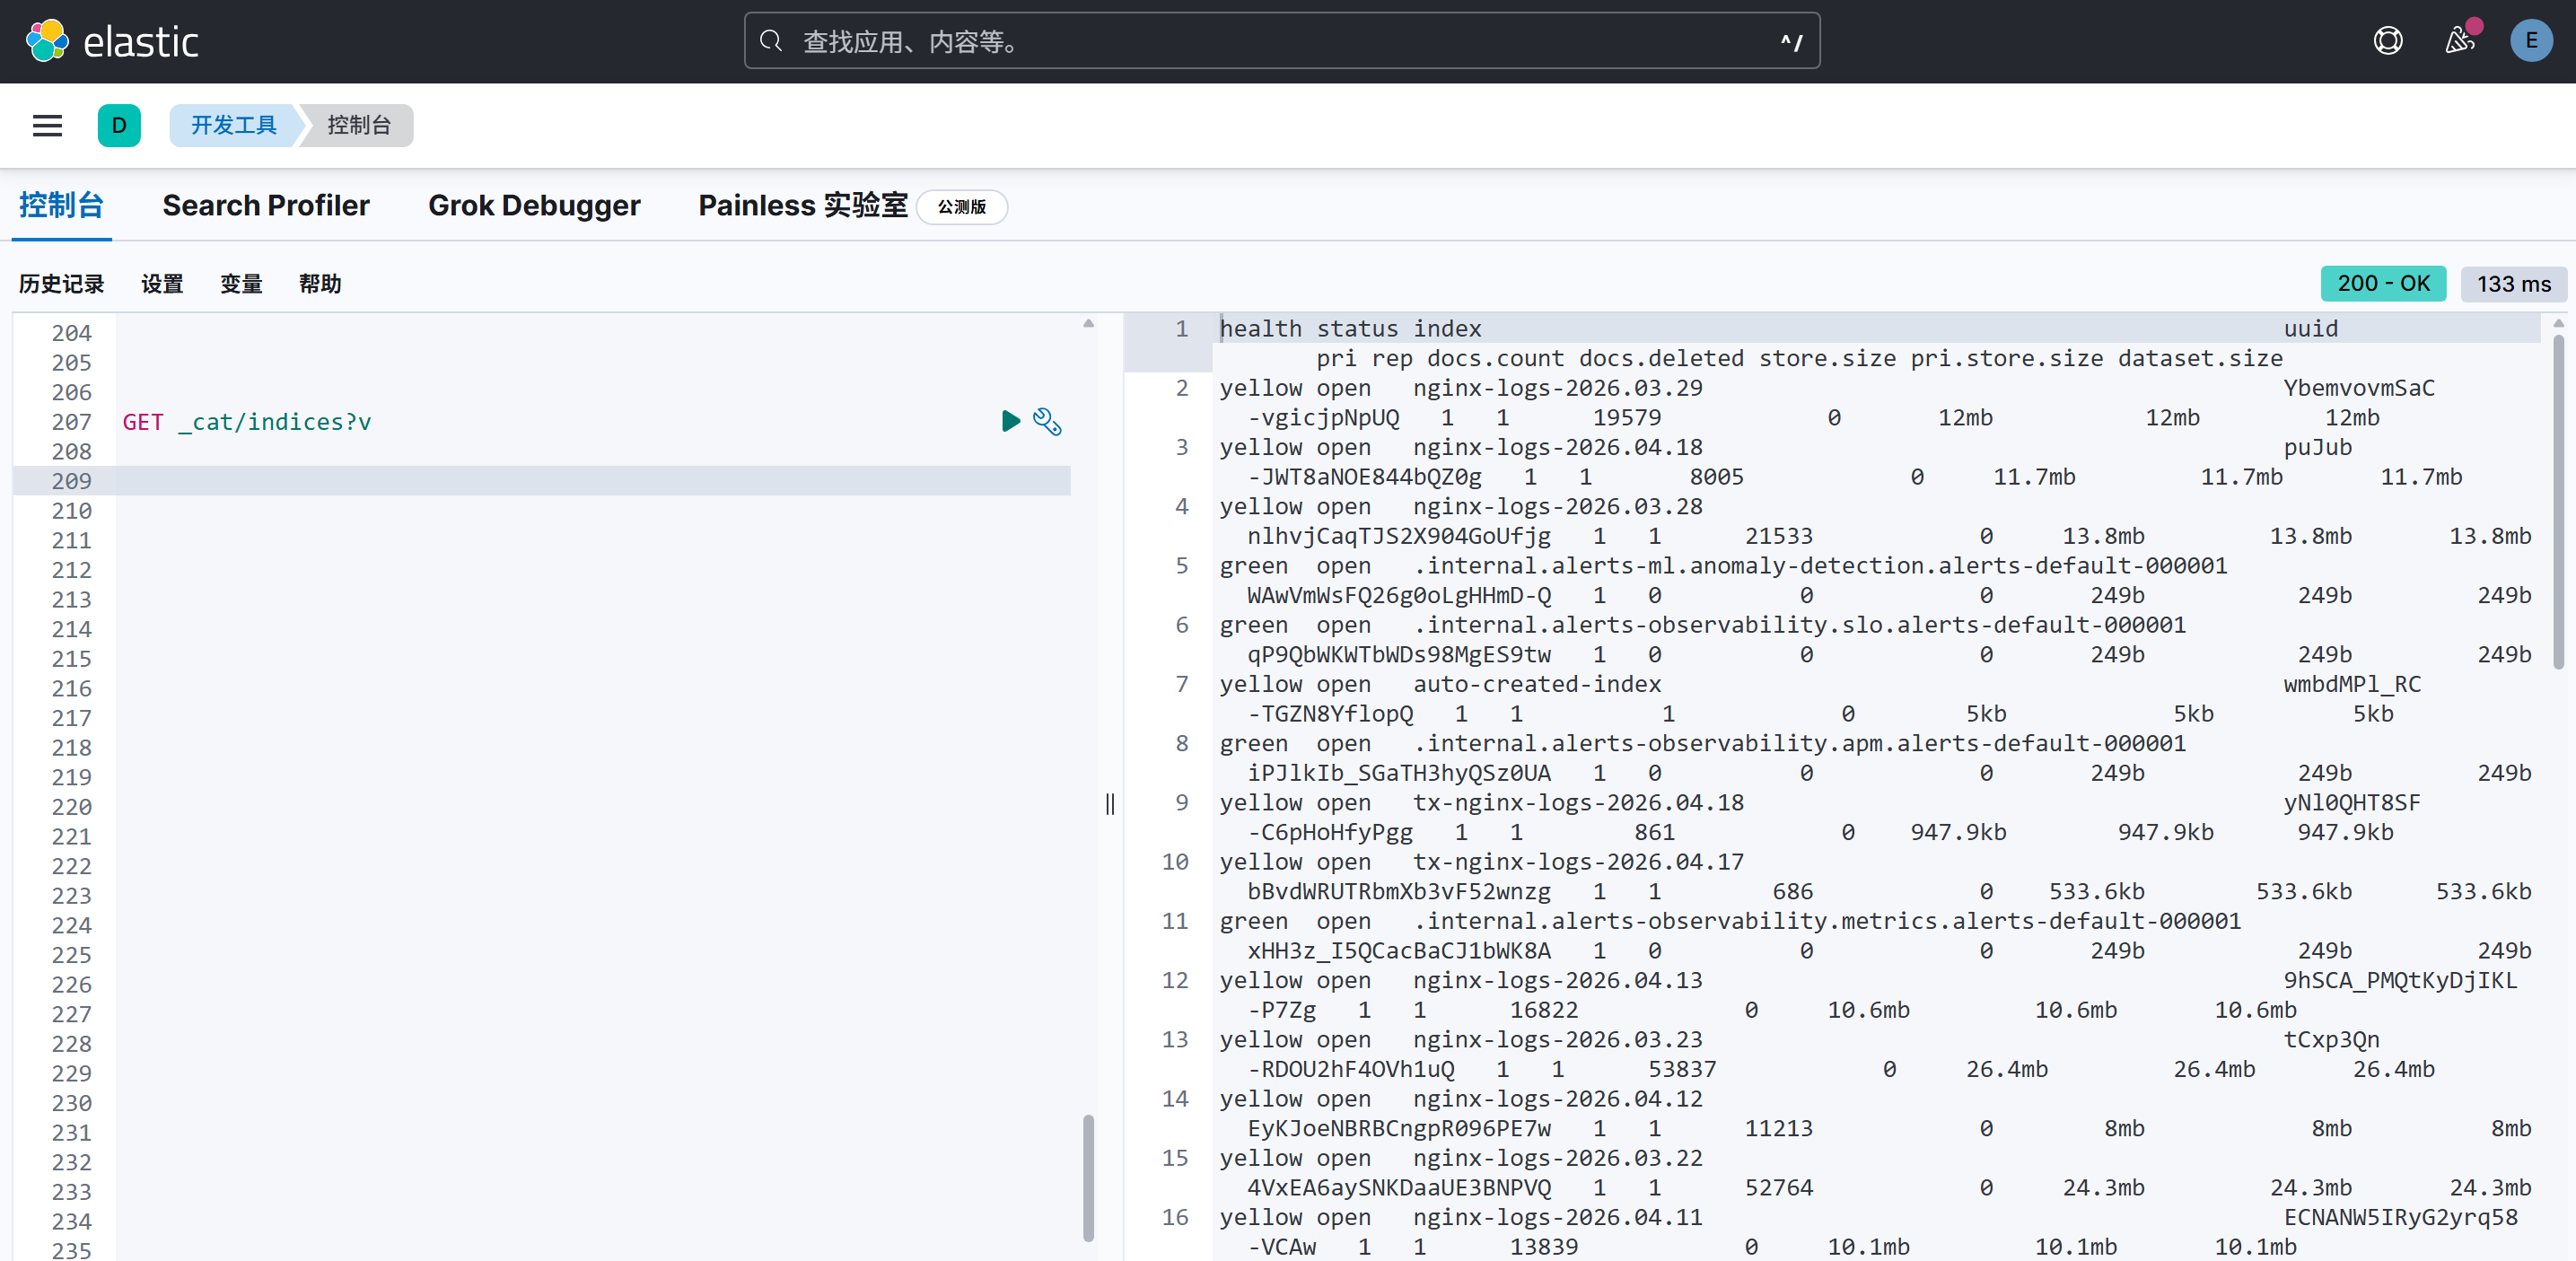
登录kibana,打开开发工具,就能看到filebeat建的索引和采集到的日志了,还可以根据业务需要制作图表等
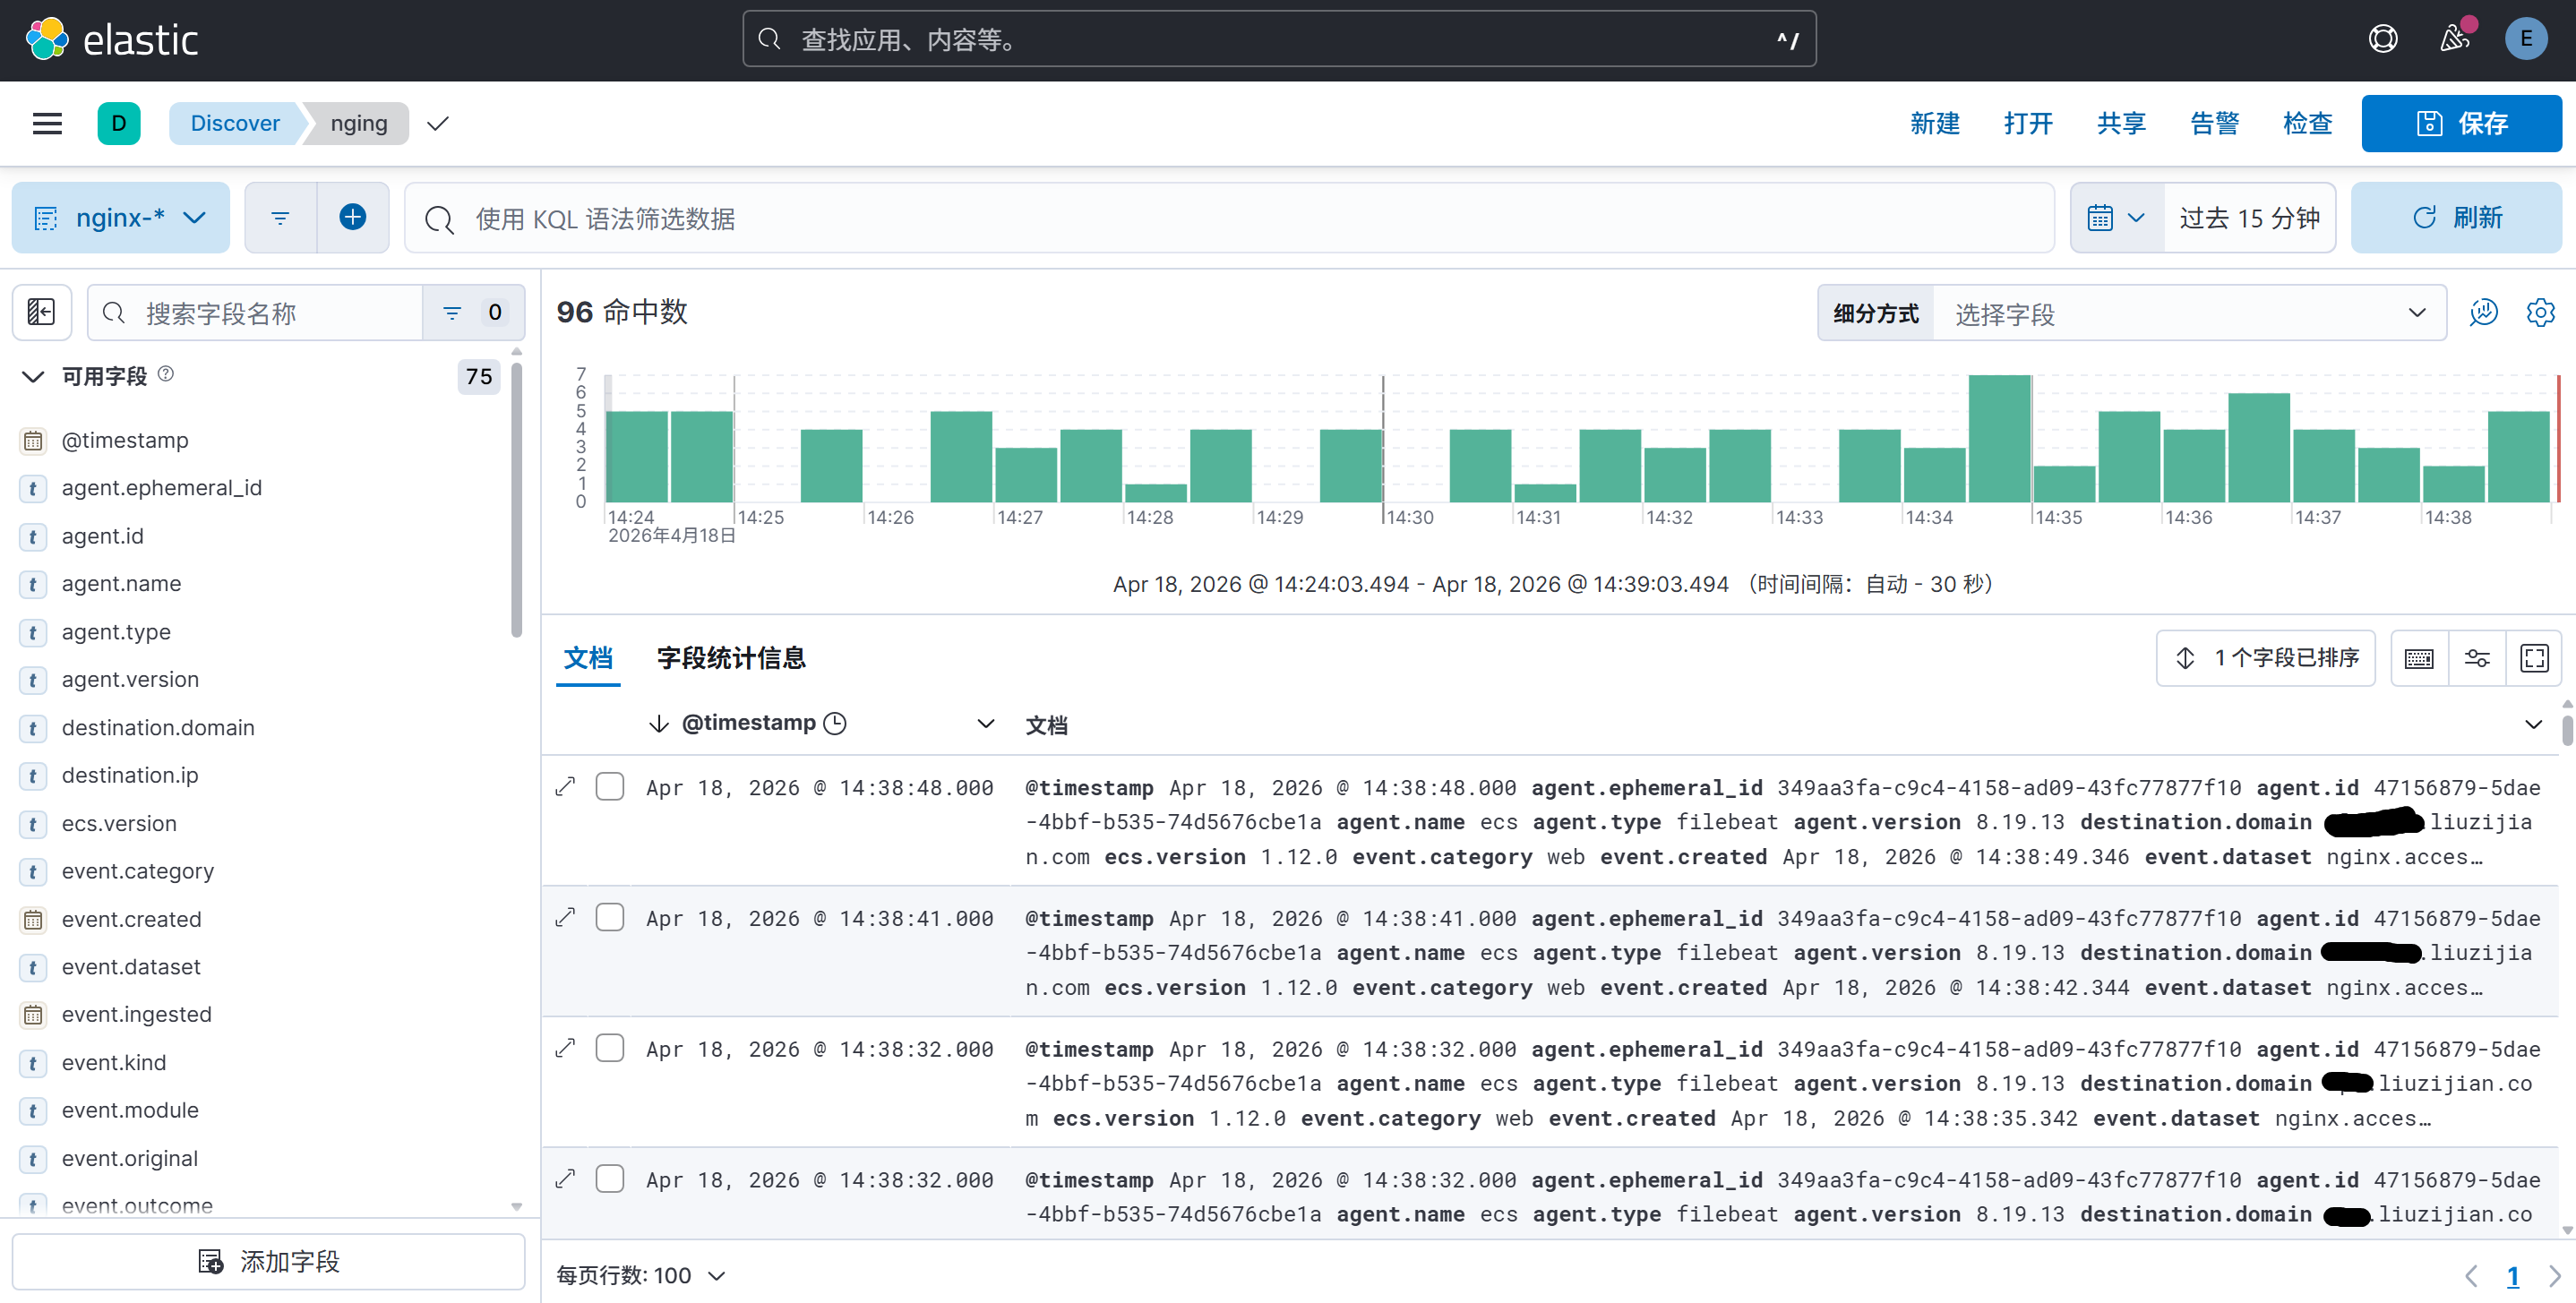
还可以通过检索,通过链接和访问次数进行聚合,查出一些攻击和刺探的恶意请求,例如:
GET /nginx-logs-2026.04.18/_search{ "size": 0, "aggs": { "ip_counts": { "terms": { "field": "url.domain.keyword", "size": 20000 }, "aggs": { "domains_per_ip": { "terms": { "field": "source.ip.keyword", "size": 20000 }, "aggs": { "domains_per_path": { "terms": { "field": "url.path.keyword", "size": 20000 } } } } } } }}