本文未完待续
1.函数代码以def关键字开头,后接函数标识符名称和圆括号():开始,需要缩进return表达式结束函数,返回一个值给调用方,不带表达式的return相当于返回Nonepass关键字,可避免语法错误
def 函数名(参数列表): 函数体 return 返回值例:
def greet ( name, age) : print ( "Hello World" ) Python函数参数不需要声明类型,解释器会自动推断,但是会带来难以理解,隐藏BUG,开发效率低下等问题,因此类型注解通过引入可选的类型信息解决这些问题,明确指出函数和返回值的类型,让代码更加健壮可维护。
在实现复杂逻辑和对外提供公共接口时,都应当使用类型注解
例:
def greet ( name: str , age: int ) - > str : return f"Hello World { name} , age { age} " 但是,调用时仍然可以不遵守
func.py
def greet ( name: str , age: int ) - > str : return f"Hello World { name} , age { age} " if __name__ == '__main__' : print ( greet( 'lzj' , 12.6 ) ) 此时可以通过mypy工具包,对我们的代码进行检测,会检测出问题
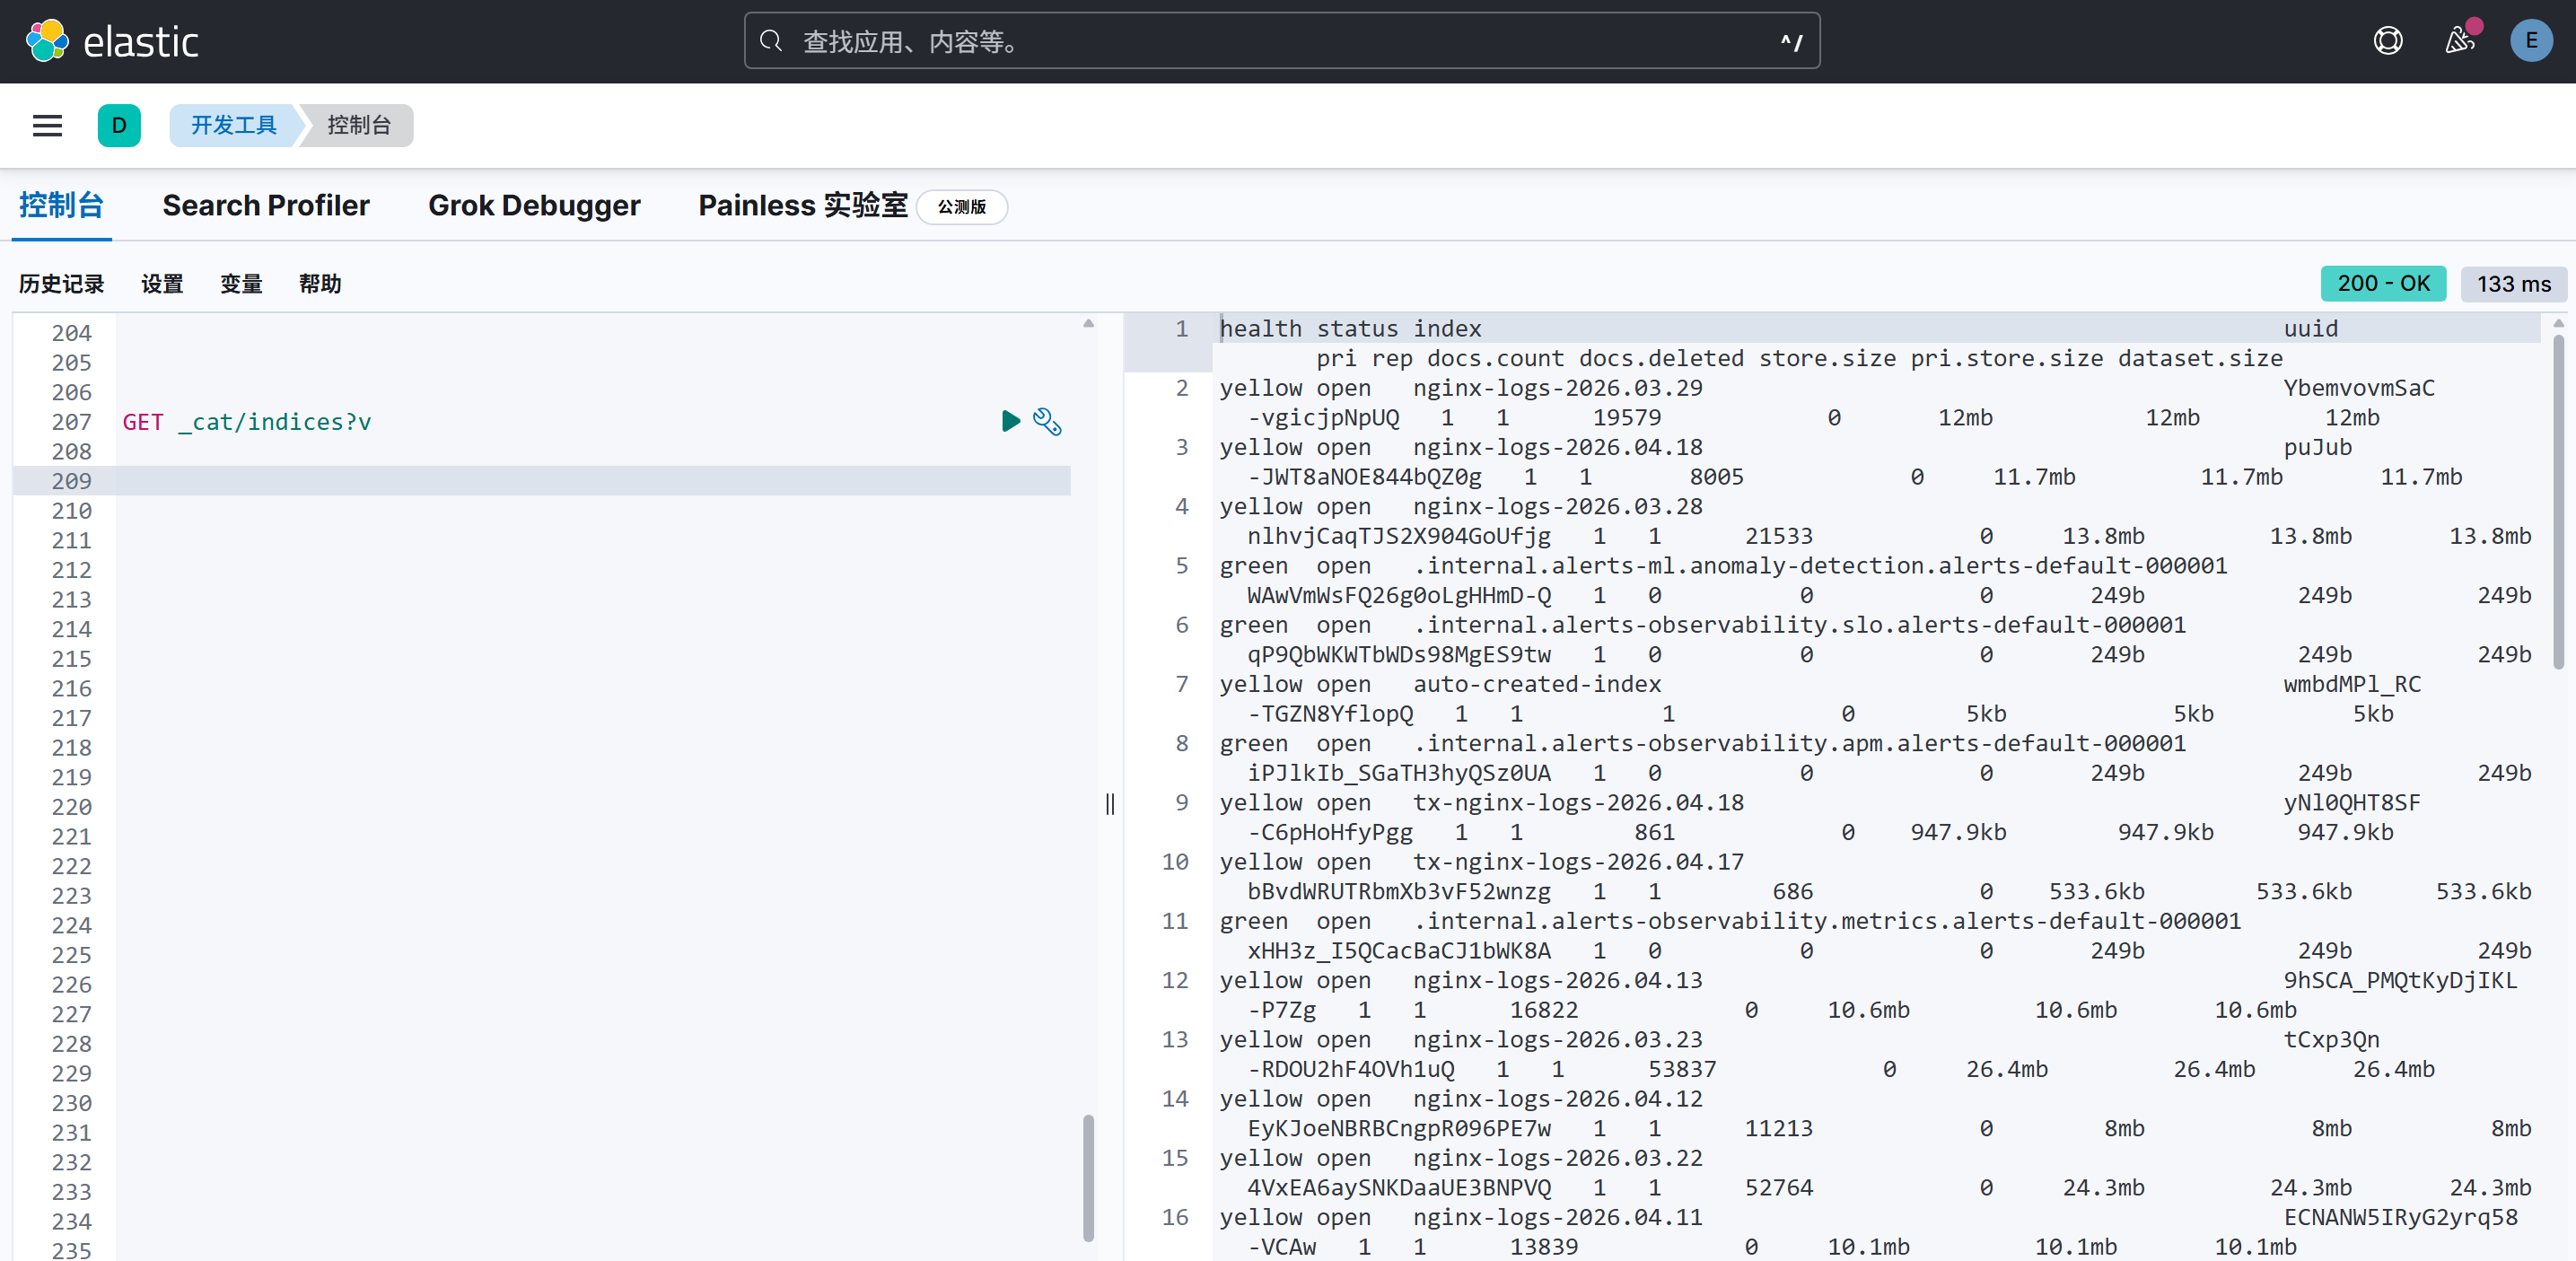
先安装mypy工具 pip install mypy,再进行检测
PS D:\PycharmProjects\python-lang-test> mypy .\func\func.pyfunc\func.py:5: error: Argument 2 to "greet" has incompatible type "float"; expected "int" [arg-type]Found 1 error in 1 file (checked 1 source file)如果要彻底避免,需要进行严格类型检查
def add ( a: int , b: int ) - > int : if not isinstance ( a, int ) : raise TypeError( f"参数a期望类型int,实际传入 { type ( a) . __name__} " ) if not isinstance ( b, int ) : raise TypeError( f"参数b期望类型int,实际传入 { type ( b) . __name__} " ) return a + bresult2 = add( '5' , 3 ) print ( result2) Traceback (most recent call last): File "D:\PycharmProjects\python-lang-test\func\func.py", line 9, in <module> result2 = add('5', 3) File "D:\PycharmProjects\python-lang-test\func\func.py", line 4, in add raise TypeError(f"参数a期望类型int,实际传入{type(a).__name__}")TypeError: 参数a期望类型int,实际传入str在函数返回值是某种特定类型或None时使用Optional,等价于Union[具体类型, None]
例:dic.get(name)可能返回字典的值,也可能在没有值时返回None
from typing import Optionaldef age ( name: str ) - > Optional[ int ] : dic = { 'a' : 16 , 'b' : 17 , 'c' : 18 } return dic. get( name) if __name__ == '__main__' : print ( age( 'dd' ) ) print ( age( 'a' ) ) 以正确的形式传入函数,数量要和声明时保持一致
from typing import Optionaldef fun ( age: int ) - > Optional[ int ] : print ( age) return agefun( 10 ) 函数调用使用关键字参数来确定传入的参数值
def fun ( age: int , name: str ) : print ( age) print ( name) fun( name= 'lzj' , age= 10 ) 调用函数时,如果没有传递参数,则会使用默认参数
def fun ( name: str = "a" , age: int = 25 ) : print ( f"fun---name: { name} age: { age} " ) fun( ) fun( "zhangliang" ) fun( "wangqiang" , 28 ) fun---name:a age:25fun---name:zhangliang age:25fun---name:wangqiang age:28加了*的参数会以元组的形式传入,一般这种参数放在参数列表后面
格式:
def fun([普通参数], *var_args_tuple) : 函数体例:
def print_info ( num, * var_tuple) : print ( num) print ( var_tuple) print_info( 70 , 1 , 2 , 3 , 4 , 5 ) print_info( 80 ) print_info( 90 , * ( 1 , 2 , 3 , 4 , 5 ) ) 70(1, 2, 3, 4, 5)80()90(1, 2, 3, 4, 5)如果后面还有参数,必须通过关键字参数传入,如果没有给不定长的参数传参,那么得到的是空元组
def print_info1 ( seq, * var_tuple, age) : print ( seq) print ( var_tuple) print ( age) print_info1( 1 , 20 , 30 , 40 , 50 , age = 25 ) print_info1( 70 , age = 29 ) 1(20, 30, 40, 50)2570()29加了两个星号的参数,会以字典的形式传入,“**”可变参数的后面不能再有其他参数,因此“**”可变参数往往在“*”可变参数的后面(如果有的话),并且作为整个参数列表的最后一个参数
调用时,直接在参数列表直接传入键值对
def func ( nid, ** info) : print ( nid) print ( info) if __name__ == '__main__' : func( 10 , name= '苗苗' , age= 22 ) func( 11 , name= '欣欣' , age= 27 ) 10{'name': '苗苗', 'age': 22}11{'name': '欣欣', 'age': 27}如果要传字典,需要用**前缀,否则报错
if __name__ == '__main__' : dic = { 'name' : '苗苗' , 'age' : 18 } #func(10, dic) ❌ func( 10 , ** dic) #✅ func( 10 , ** { 'name' : '苗苗' , 'age' : 18 } ) #✅ 上面出现的*() **{}就是一种解包/打包的写法
概念
打包(Packing):将多个参数合并成一个数据结构(元组或字典) 解包(Unpacking):将一个数据结构拆解成多个参数 异同:
语法 含义 类型 使用场景 *args可变位置参数 元组 不确定数量的位置参数 **kwargs可变关键字参数 字典 不确定数量的关键字参数 *args, **kwargs组合使用 - 通用函数包装、装饰器、继承
总结
*args:接收多余的位置参数(arguments)**kwargs:接收多余的关键字参数(keyword arguments)例:
def func ( a, * args, ** kwargs) : print ( a) print ( args) print ( kwargs) func( 100 , 1 , 2 , 3 , k1= 20 , k2= 30 ) func( 200 , * ( 1 , 2 , 3 ) , ** { "k1" : 20 , "k2" : 30 } ) 100(1, 2, 3){'k1': 20, 'k2': 30}200(1, 2, 3){'k1': 20, 'k2': 30}例:参数解包
传递参数时,可以将多个实参用*组合为元组,传入形参
def sum_num ( a, b, c) : return a+ b+ cif __name__ == '__main__' : print ( sum_num( 1 , 2 , 3 ) ) #6 print ( sum_num( * ( 1 , 2 , 3 ) ) ) #6 let_tuple = ( 1 , 2 , 3 ) print ( sum_num( * let_tuple ) ) #6 python使用lambda来创建匿名函数
lambda是一种小型的内联函数,通常只有一行代码 匿名的,只能通过赋值给变量或作为参数传递给其他函数的方式来使用 可以有任意数量的参数,但是只能有一个表达式 不需要使用def关键字定义 通常用于编写简单的单行的函数 通常在函数需要作为参数传递的情况下使用 与java的lambda的区别:通常只有一行代码
组成:
lambda arguments : expressionlambda 是python的关键字 arguments 参数列表 expression 表达式,用于计算并返回结果 例:
某种操作函数operator,传入待操作数a, b以及操作规则func,将1和2以及一个加法计算规则add()传入,令operator函数对两个数进行加法
def add ( a, b) : return a + bdef operator ( a, b, func) : return func( a, b) print ( operator( 1 , 2 , add) ) # 3 add()就无需单独再定义函数,可以匿名成为一个加法计算规则的lambda:lambda x, y: x + y
print ( operator( 1 , 2 , lambda x, y: x + y ) ) #3 lambda可以赋给变量,称为函数变量,函数变量保存的是函数类型的值,对函数变量进行调用(加小括号),才能得到对应函数的返回值类型的值
例:
f = lambda : "Hello, world!" print ( f) # <function <lambda> at 0x000002A2226B7C40> print ( f( ) ) # Hello, world! x = lambda a, b, c : a + b + cprint ( x( 5 , 6 , 2 ) ) #13 在python中,lambda通常可以和一些内置函数配合使用,实现一些效果
numbers = [ 1 , 2 , 3 , 4 , 5 , 6 , 7 , 8 ] even_numbers = list ( filter ( lambda x: x % 2 == 0 , numbers) ) print ( even_numbers) # 有三名学生的姓名和年龄,按年龄排序 student_list = [ { "name" : "z3" , "age" : 36 } , { "name" : "li4" , "age" : 14 } , { "name" : "w5" , "age" : 27 } ] print ( sorted ( student_list, key= lambda x: x[ "age" ] ) ) # map() 的主要作用是将给定的函数批量应用到可迭代对象的每个元素上,实现数据转换 map_result = map ( lambda x: x * x, [ 0 , 1 , 3 , 7 , 9 ] ) print ( list ( map_result) ) # filter() 的主要作用是将给定的函数**批量应用**到可迭代对象的每个元素上,实现数据过滤 filter_result = filter ( lambda x: x >= 0 , [ - 0 , - 1 , - 3 , 7 , 9 ] ) print ( list ( filter_result) ) [2, 4, 6, 8][{'name': 'li4', 'age': 14}, {'name': 'w5', 'age': 27}, {'name': 'z3', 'age': 36}][0, 1, 9, 49, 81][0, 7, 9]闭包是python实现函数式编程的重要基础
定义:内部函数引用了嵌套它的外部函数的变量或参数,且内部函数被返回或暴露出去,从而保留了外部函数作用域(即便已经调用完成)的函数对象。
例:定义一个函数lazy_sum(),嵌套一个内部函数inner(),并将内部函数inner()作为返回值返回,并赋值给了num,但是是个函数对象,只有执行num(),内部函数inner()才会执行,将外部函数的参数*args进行累加。在这个过程中lazy_sum()的执行完成后,并没有被释放,参数*args也被保留下来,什么时候内部函数执行了,什么时候真正完成调用。
def lazy_sum ( * args) : def inner ( ) : result = 0 for n in args: result = result + n return result #返回函数 return innernum = lazy_sum( 11 , 12 ) print ( num) # <function lazy_sum.<locals>.inner at 0x0000023A15FD62A0> print ( num( ) ) # 23 print ( num. __closure__) #闭包保存的变量元组 (<cell at 0x00000241568DB5E0: tuple object at 0x00000241568E8940>,) print ( num. __closure__[ 0 ] . cell_contents) # 闭包保存的变量 (11, 12) 例:带参数
def hello ( s1) : def world ( s2) : return s1+ ' ' + s2 #返回函数 return worldfun = hello( 'hello' ) print ( fun( 'world' ) ) #hello world print ( hello( 'hello' ) ( 'world' ) ) #hello world 总结:
函数要嵌套,支持多层 内部函数要引用外部函数的局部变量 外部函数将内部函数返回,或作为参数传递 利弊:
优点: 封装隐藏数据和持久化状态,简化参数传递,适合实现轻量级状态保持场景 缺点: 内存占用过高,可读性和可调试性差,存在循环变量捕获陷阱,使用时需要避免持有占用大空间的数据 装饰器类似Spring AOP,前置/后置通知
装饰器(decorators)是Python中的一种高级功能,它允许你动态地修改函数或类的行为。
装饰器本质上是一种函数,它接受一个函数作为参数并返回一个新的函数或修改原来的函数,可以实现不修改被修饰对象的源码和调用方式的前提下,为其额外添加功能(日志,计时,权限校验等)。
执行原理:
绑定原函数 定义额外功能 替换,返回包装函数 调用,执行原逻辑+增强逻辑 例:装饰器的实现,使用aop()函数增强hello()函数,aop()函数替换掉原hello()函数,直接调用aop()函数
def aop ( func) : def wrapper ( ) : print ( "before" ) func( ) print ( "after" ) return wrapperdef hello ( ) : print ( 'hello world' ) if __name__ == '__main__' : aop( hello) ( ) 例:简化写法,@加上一个闭包函数,就能构成一个装饰器函数,语法类似Java中的注解
def aop ( func) : def wrapper ( ) : print ( "before" ) func( ) print ( "after" ) return wrapper@aop def hello ( ) : print ( 'hello world' ) if __name__ == '__main__' : hello( ) 例:带参数的装饰器
def aop ( func) : def wrapper ( * args, ** kwargs) : print ( "before" ) func( * args, ** kwargs) print ( "after" ) return wrapper@aop def hello ( name) : print ( f'hello, { name} ' ) if __name__ == '__main__' : hello( 'sxh' )